01
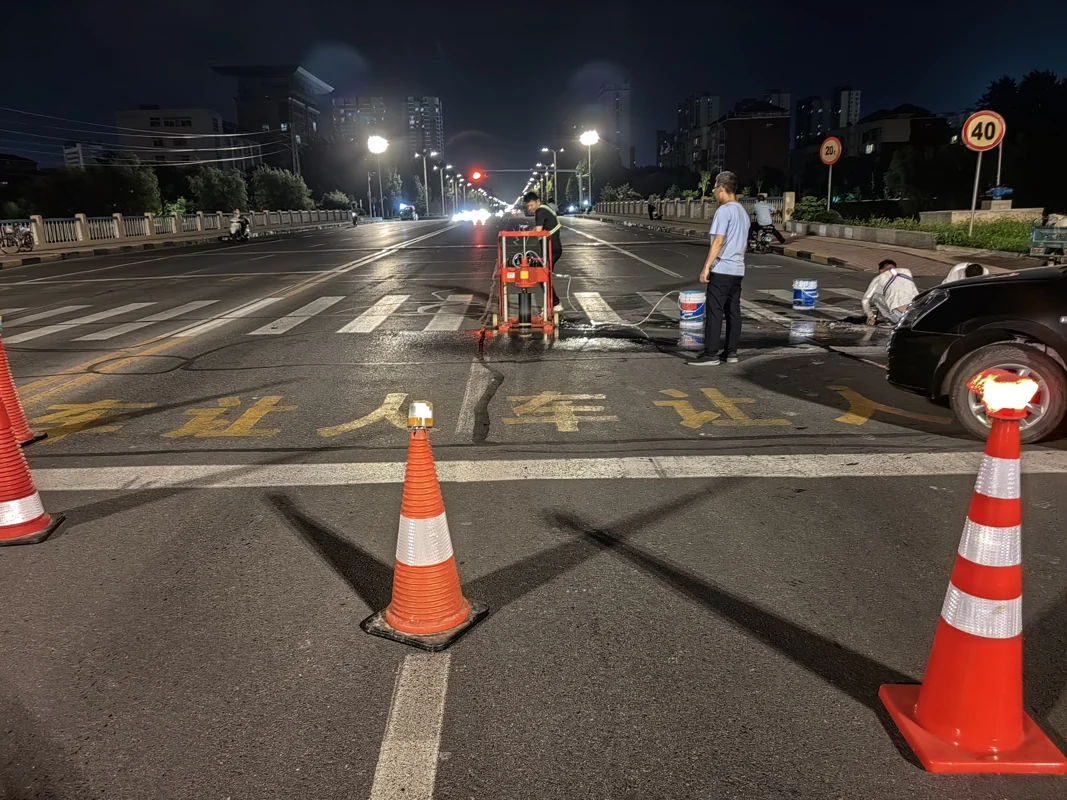
Surface Preparation
Check the pavement condition and prepare the installation area.
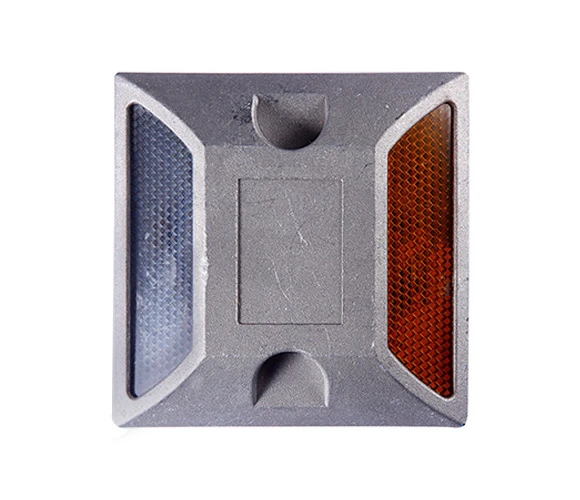
Reflective road studs / NK-1004
NK-1004
Confirm the exact configuration, technical documentation and order terms with our team.
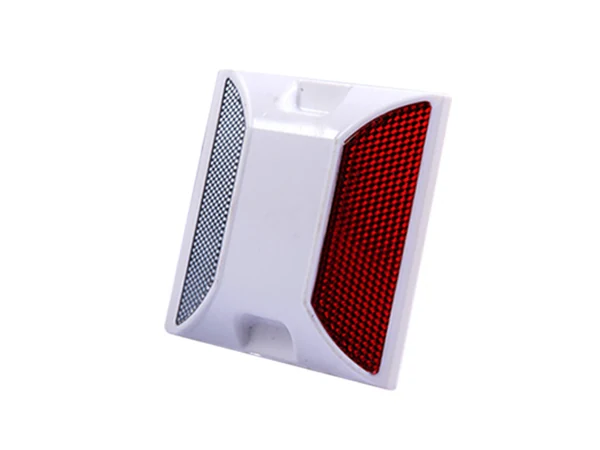
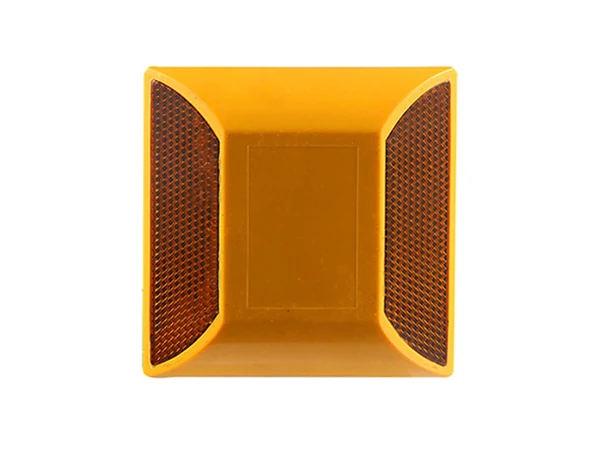
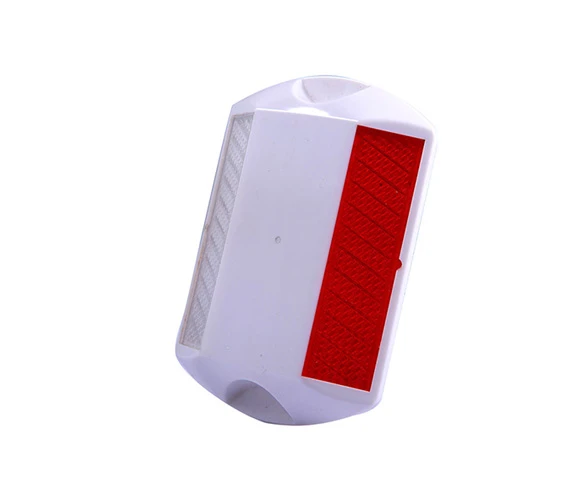
The NK-1004 is an aluminum reflective road stud designed for road marking, highway delineation, and traffic guidance applications. It features an aluminum housing, a PMMA reflective lens, and an epoxy and quartz sand filling structure. The reflective lens returns vehicle headlight illumination toward its source, helping drivers identify road boundaries and lane markings at night.
With dimensions of 100 × 100 × 20 mm and an additional 50 mm mounting shank, the NK-1004 is designed for raised road stud installation. Its aluminum housing and adhesive-based installation method provide a practical option for projects requiring a metal reflective pavement marker.
| Parameter | Specification |
|---|---|
| Body material | Aluminum |
| Filling | Epoxy+ Quartz sand |
| Size | 100*100*20+50mm (4.02"*4.02"*0.87"+1.97") Temperature -40~60°C Load capacity 5 T |
| Lens material | PMMA |
| Color | Red, Yellow, Green, Blue, White Lens Material PMMA Body Material Aluminium |
| Package | 50 pcs / ctn, Carton size: 38*36*22.5cm; 320g/pc; 19kg/ctn (50 pcs / ctn, Carton size: 14.96"*14.17"*8.86"; 0.71bs/pc; 41.89bs/ctn) Life span >3 years certificates ASTM & EN1463-1 |
Exceed the certification of ASTM D4280 and BS EN1463.
water, oil, chemical and heat resistant
Very high reflectivity
Easy installation with glues
Photometric values: exceeds 600(mcd/lux)
OEM &ODM available.
Raised models start with position marking. Confirm any anchoring-shank requirements before installation. The photographs illustrate the installation workflow.
Check the pavement condition and prepare the installation area.
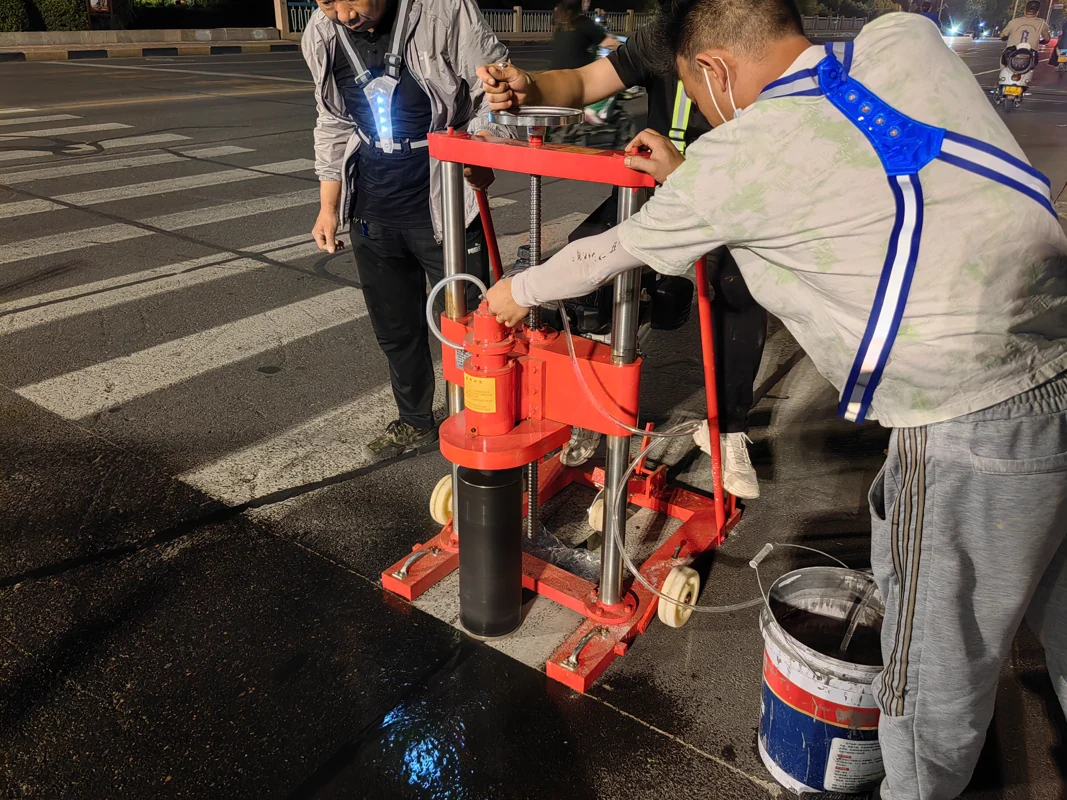
Mark the installation positions. For an anchoring shank, confirm the required anchor hole against the installation drawing.
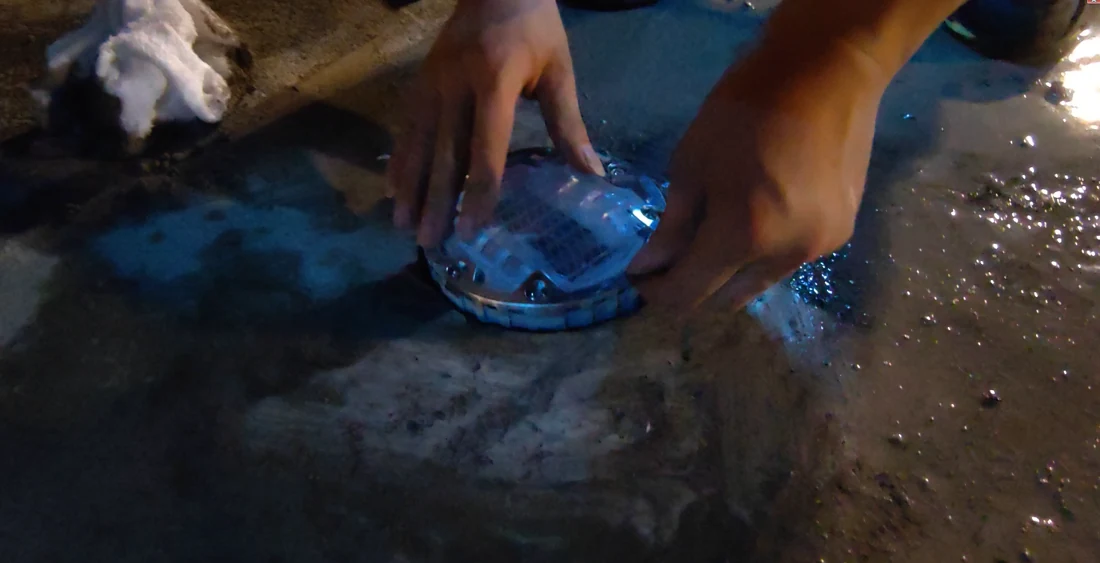
Position and secure the road stud using the specified installation method.
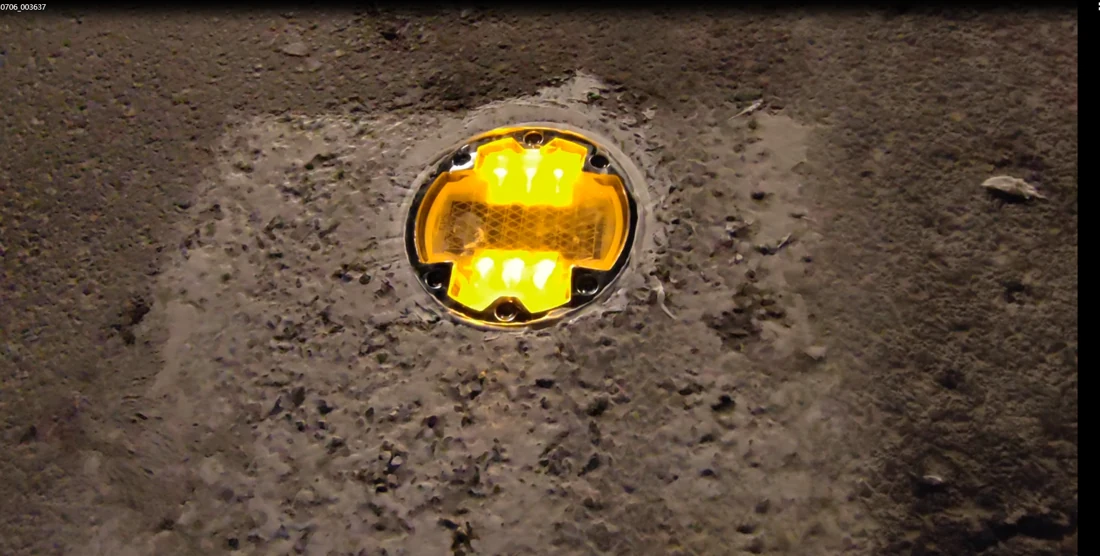
Check alignment, fixing, sealing and reflector condition.
START YOUR INQUIRY
Share the road conditions, target model and quantity. Start a clear specification discussion with NOKIN.
PROJECT INQUIRY