01
Surface Preparation
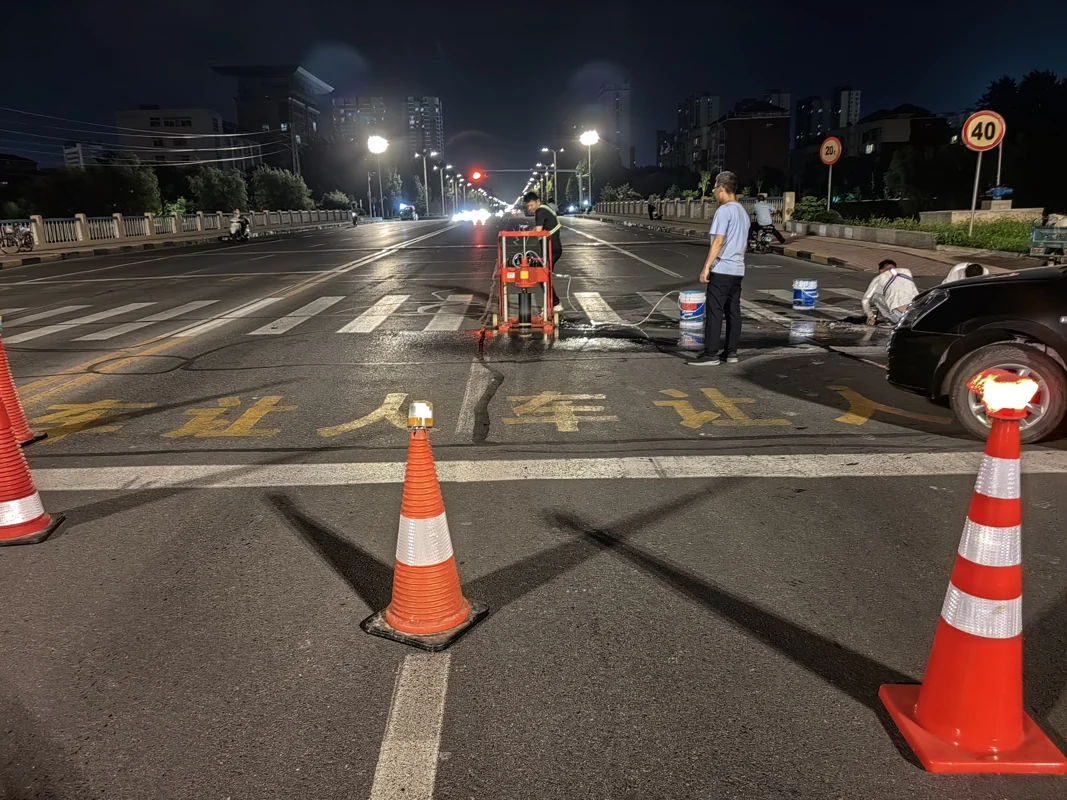
Check the pavement condition and prepare the installation area.
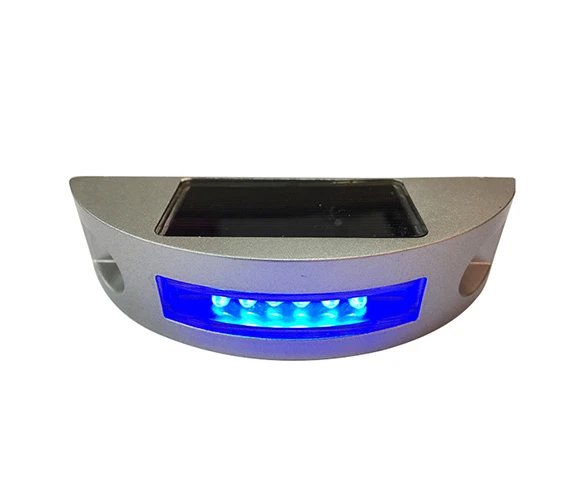
Solar road studs / NK-RS-T1
NK-RS-T1
Confirm the exact configuration, technical documentation and order terms with our team.
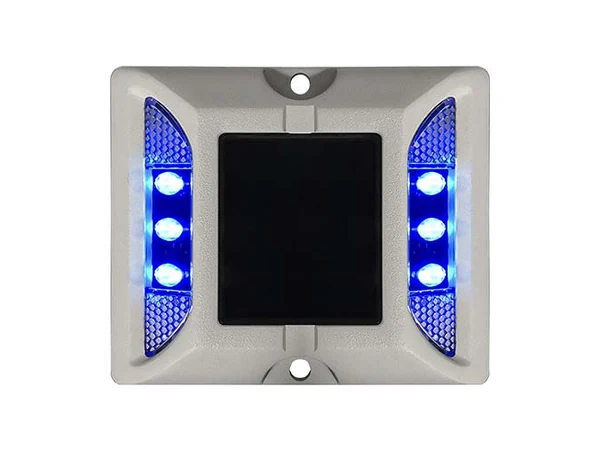
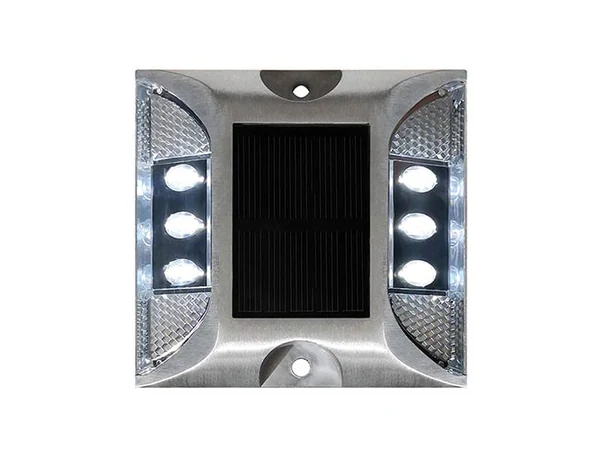
The NK-RS-T1 is a compact solar road stud designed for road marking, traffic guidance, and nighttime warning applications. Its housing combines aluminum and PC materials, while the integrated monocrystalline silicon solar panel collects sunlight to charge the battery. The stored energy powers the LED lighting system when natural light decreases.
With dimensions of 124 × 43 × 29 mm and a stated product life of 3–5 years, the NK-RS-T1 offers a compact rectangular design for road marking projects requiring an aluminum-and-PC housing combination.
| Parameter | Specification |
|---|---|
| Body material | Aluminum+PC Solar panel Material: Mono crystalline silicon solar panel 2.5V/0.25W |
| Size | 124*43*29mm (L4.88"*W1.69"*H1.14") Packing 2pc/box; 60pcs/ctn Carton size 48*27*21.5cm (18.90"*10.63"*8.46") |
| Life span | 2years for NI-MH battery; 5years for Lithium battery; |
| Material | Aluminum+PC |
| Power supply | Mono crystalline solar panel 2.5V/120MA for NI-MH; |
| Battery | NI-MH 1.2V/ 600mah(high temperature resistance); |
| Lens | PC |
| LED | Ultra bright diameter 5mm(6pcs) |
| Working model | Blinking or constant(charged at daytime, working automatically at night) Working hours (1). Blinking: 140hours for NI-MH battery; 130hours for lithium battery; (2). Constant: 40hours for NI-MH battery; 35hours for lithium battery; |
| Visual distance | >800m |
| Water proof | IP68 |
| Resistance | >20T |
| Weight | 26kgs/ctn (57.32bs/ctn) Certificate CE; ROHS; IP68 |
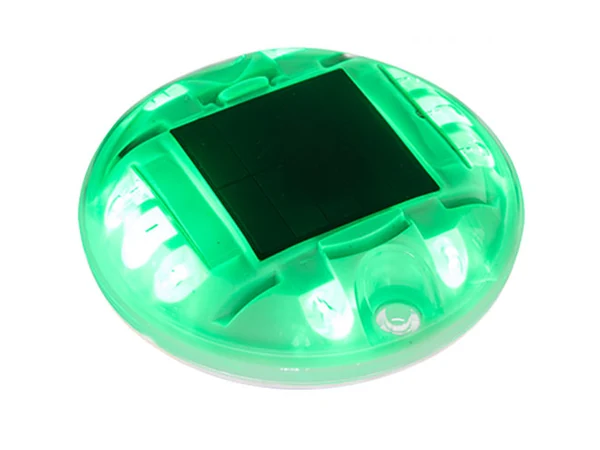
| LED Color | White, Blue, Yellow, Red, Green |
| Working Mode | Flashing or constant |
Easy installation, no maintenance
Saves power, no additional expenses, environmentally friendly, no pollution
Solar energy-based power source
Brightness sensitive auto-switch, automatically turns on at night and turns off at dawn
NOKIN solar road stud NK-RS-D1 in Austria NOKIN Solar Powered Road Stud in Saudi Arabia The Advantage Of Solar Powered Cat Eyes On Road Application of LED Solar Road Marker On Airport in Brazil
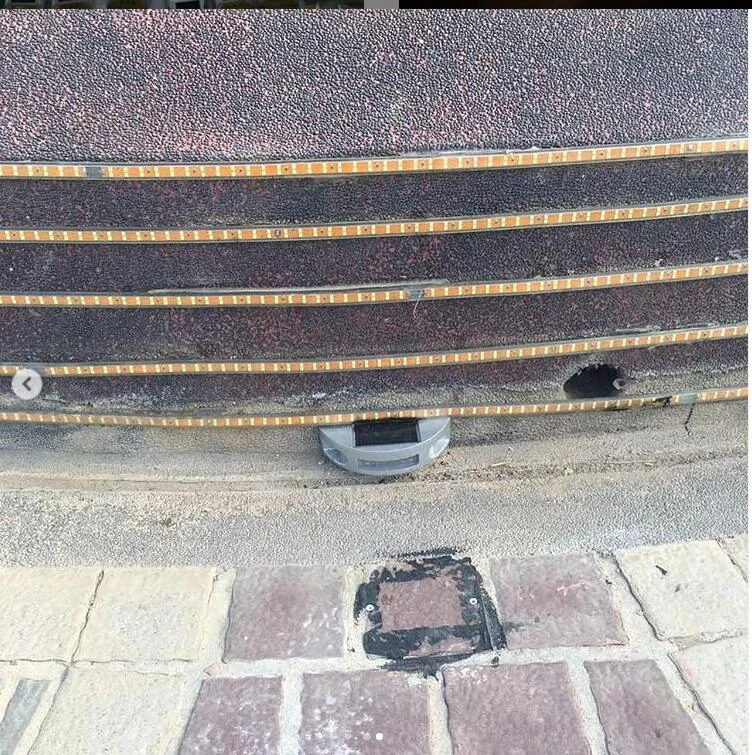
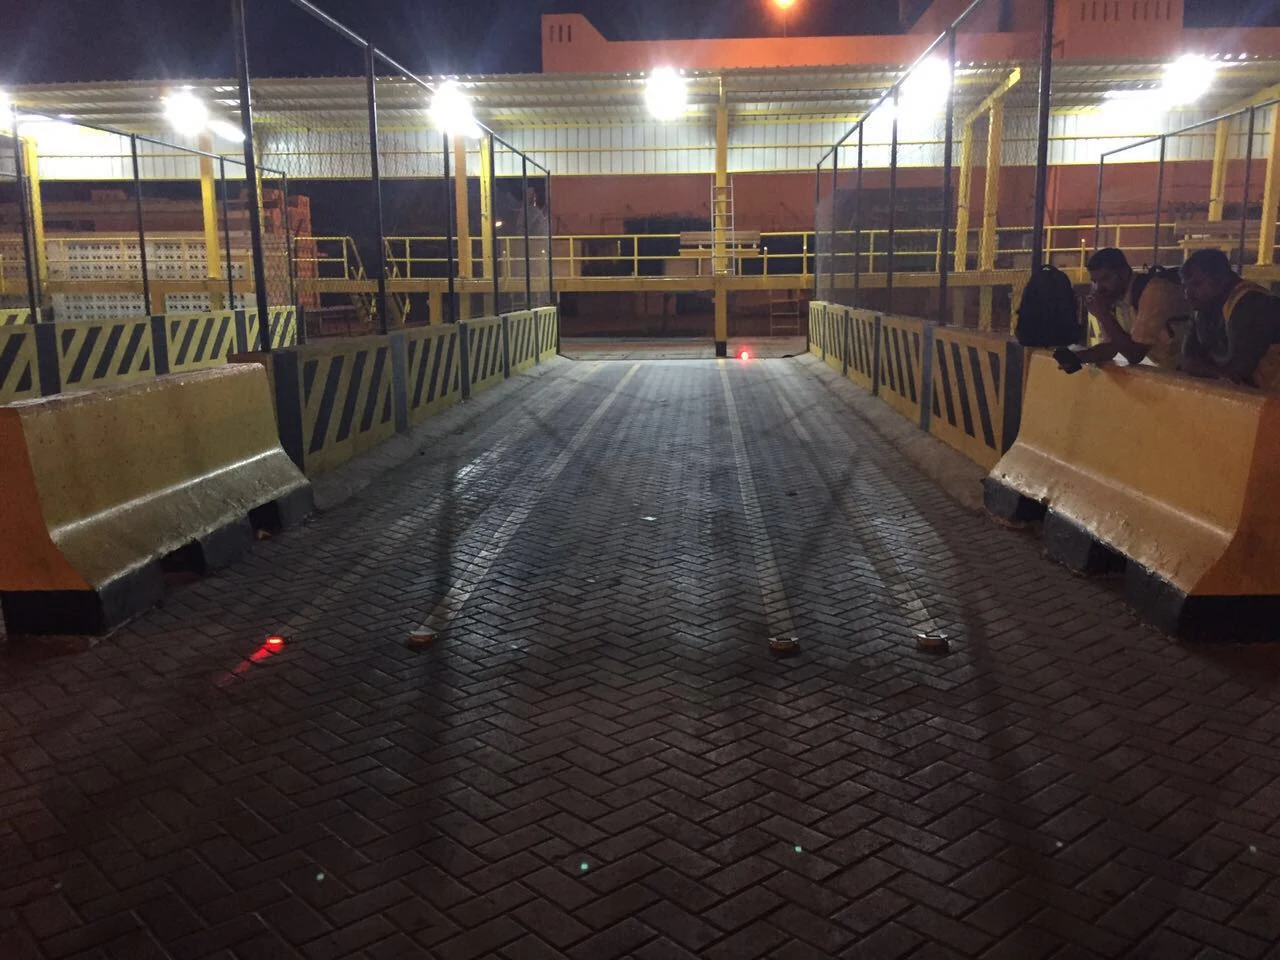
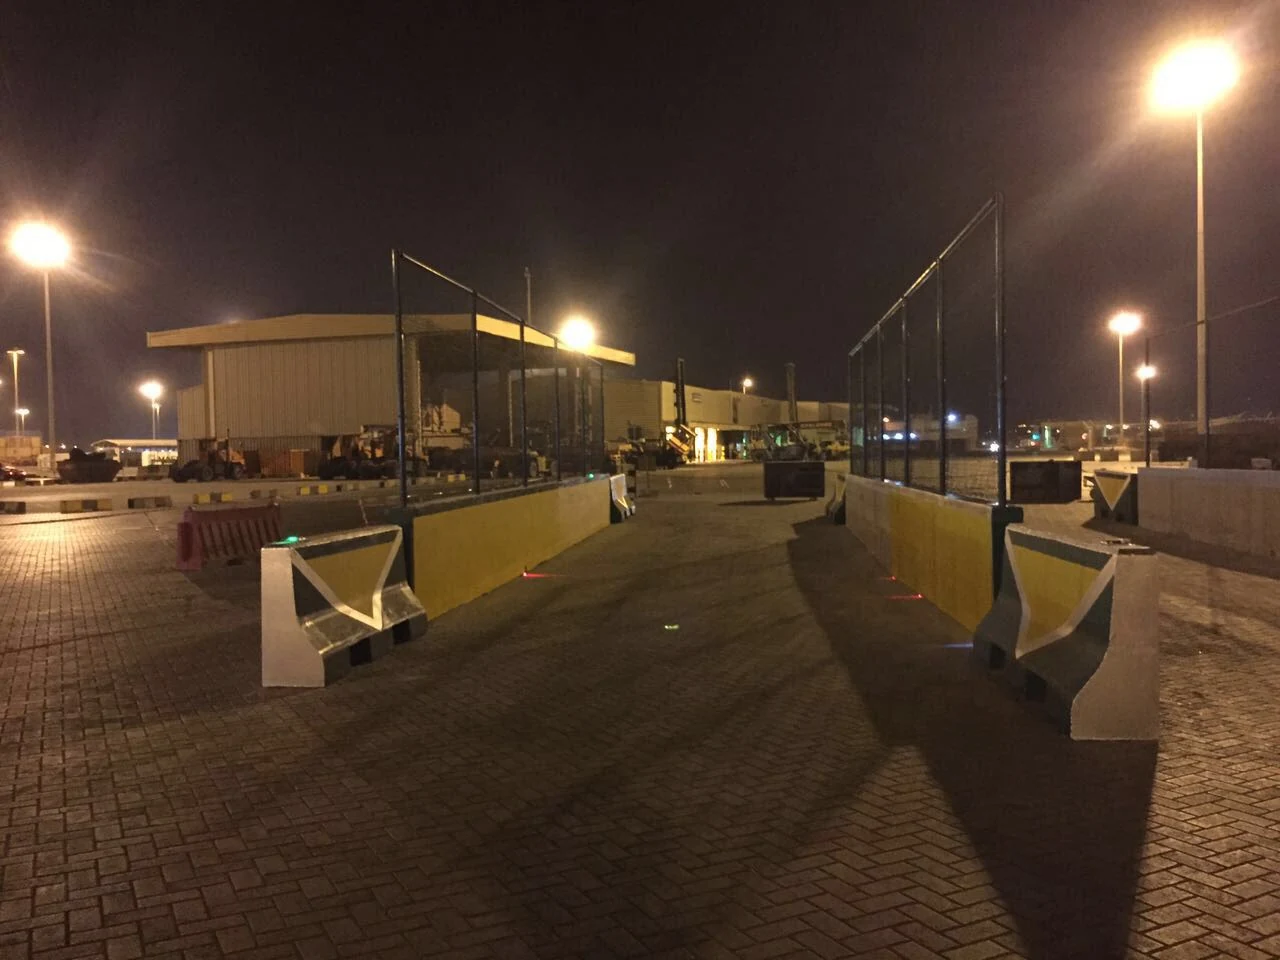
Raised models start with position marking. Confirm any anchoring-shank requirements before installation. The photographs illustrate the installation workflow.
Check the pavement condition and prepare the installation area.
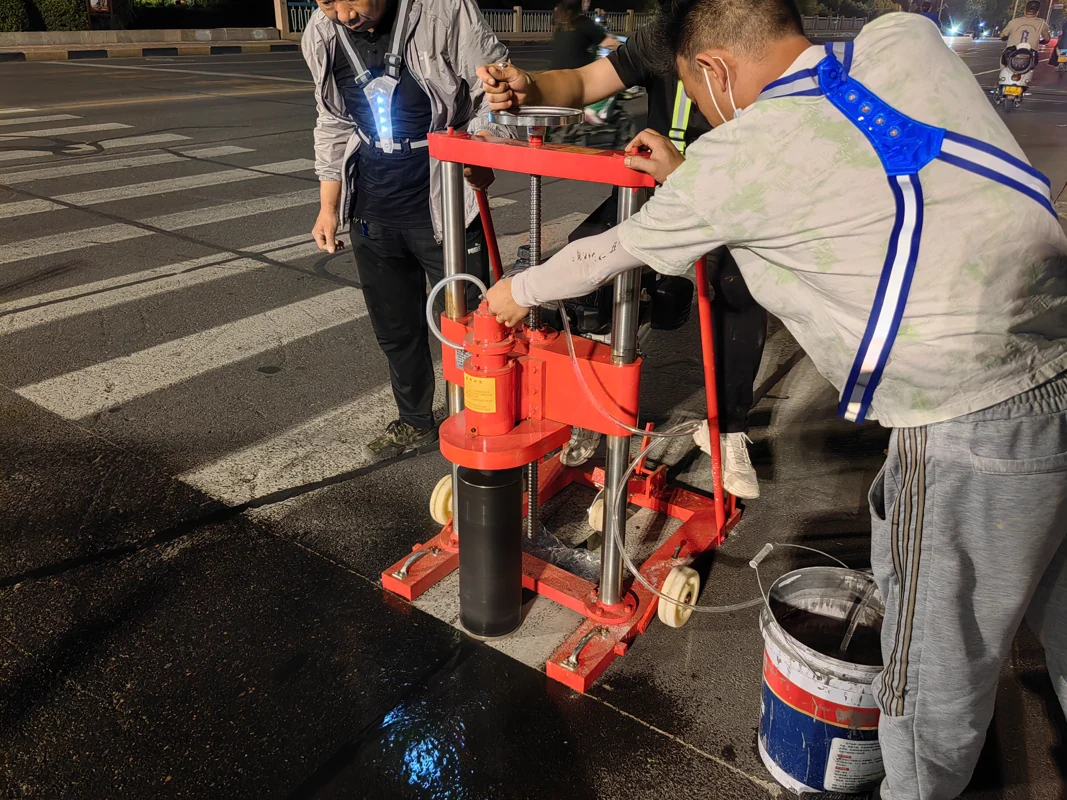
Mark the installation positions. For an anchoring shank, confirm the required anchor hole against the installation drawing.
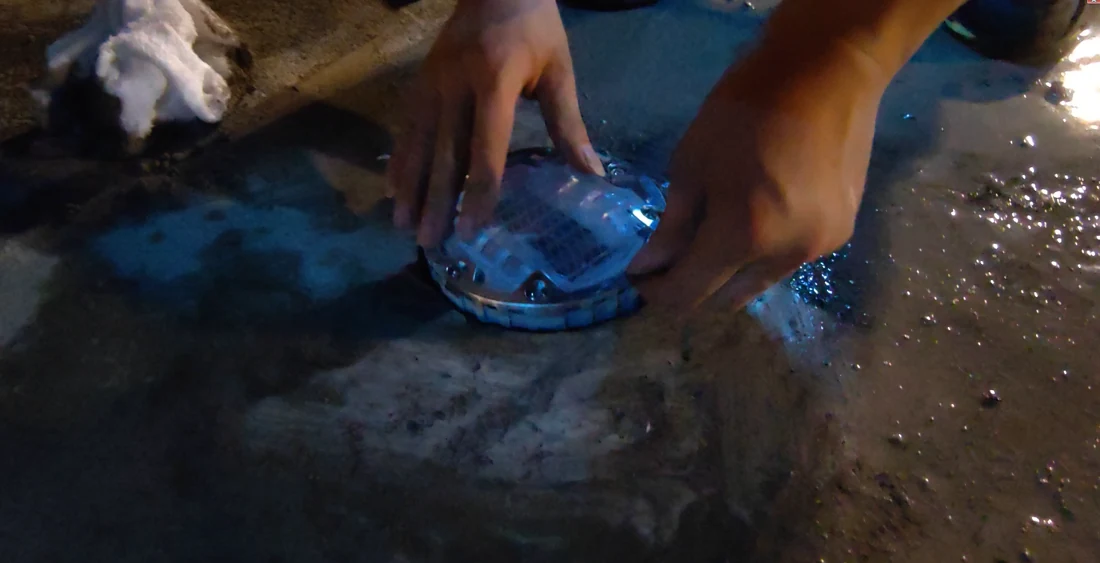
Position and secure the road stud using the specified installation method.
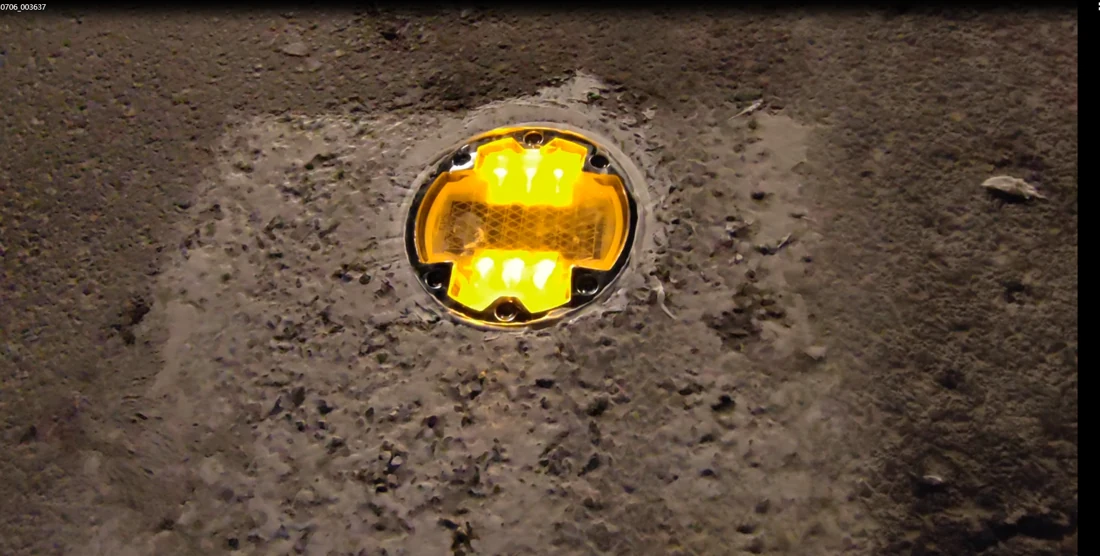
Check alignment, fixing, sealing and lighting performance.
START YOUR INQUIRY
Share the road conditions, target model and quantity. Start a clear specification discussion with NOKIN.
PROJECT INQUIRY