01
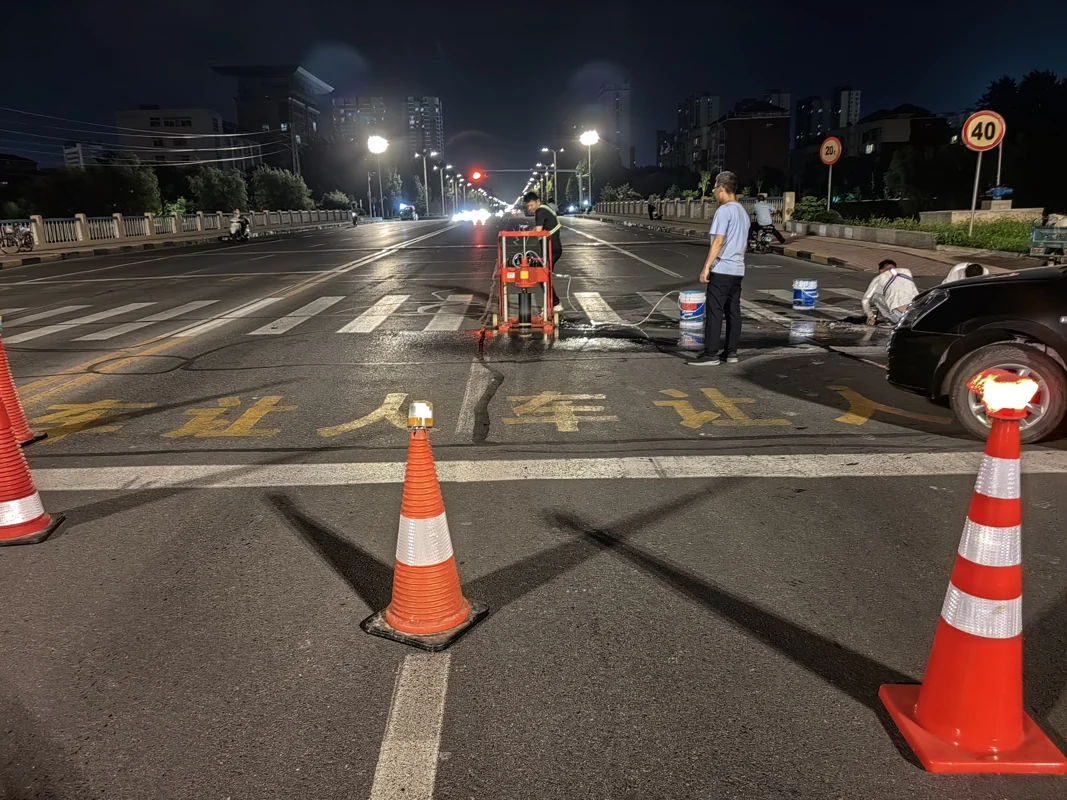
Surface Preparation
Check the pavement condition and prepare the installation area.
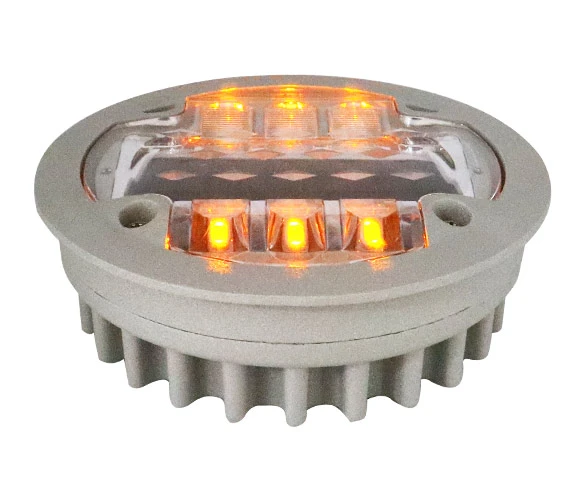
Solar road studs / NK-RS-A10
NK-RS-A10
Confirm the exact configuration, technical documentation and order terms with our team.
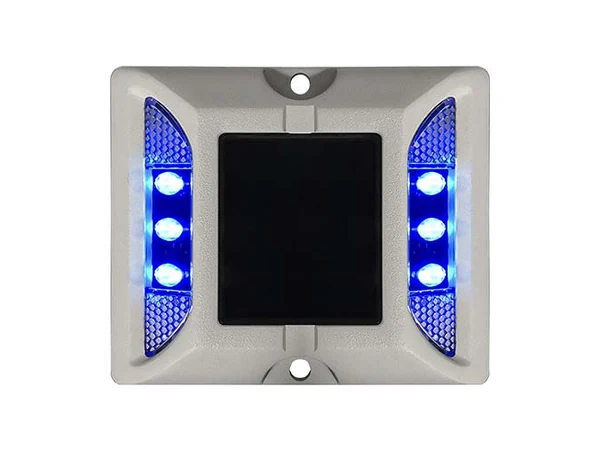
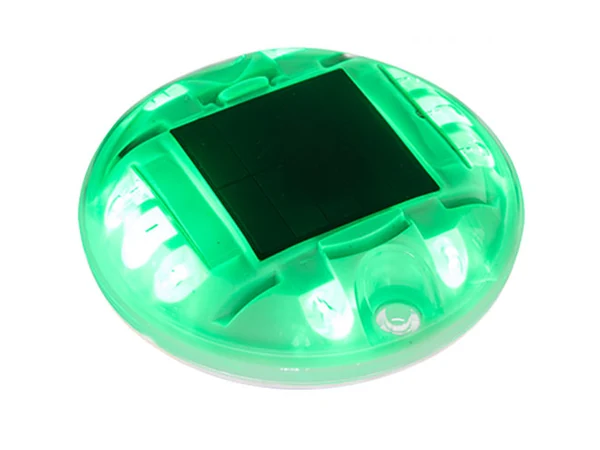
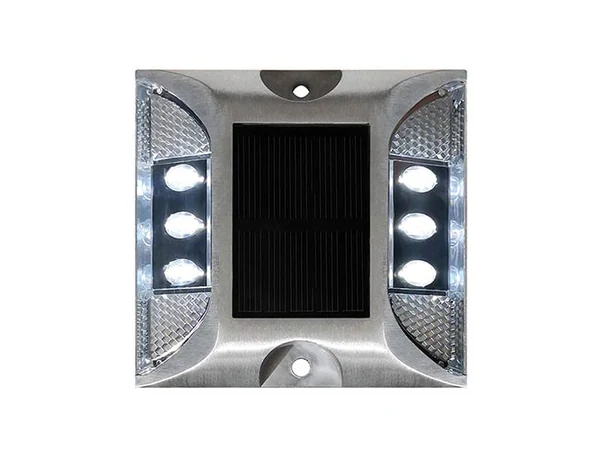
The NK-RS-A10 is an embedded solar road marker designed for road marking and nighttime traffic guidance. Its construction combines a cast aluminum base with a reinforced PC housing, providing a combination of metal support and impact-resistant outer protection. The integrated monocrystalline solar panel stores energy in the battery to power the LED lighting system when natural light decreases.
With a circular design measuring Ø133 × 47 mm, this model is intended for embedded road installations where a compact pavement marker with an integrated solar lighting system is required.
| Parameter | Specification |
|---|---|
| Power Supply | Solar panel(Monocrystalline 2.5V /0.2W) |
| Battery | NI-MH 2V/120mAh/ Lithium battery 5V/80mA |
| Size | Dia 133mm* 47mm Package: 1pcs/box; 30pcs/ctn Carton size: 67.5*28*20cm; Weight: 30kgs (1pcs/box; 30pcs/ctn; Weight: 66.14bs; Carton size: 26.57"*11.02"*7.87") |
| Load Capacity | >40T |
| Body material | Cast Aluminum |
| LED | 3pcs/side φ10mm super brightness LED |
| Working hours | 180 hrs for flashing modes, 40hrs for steady modes |
| Visual distance | 800m(approx) |
| Waterproof | IP68 |
| Life span | 3-5 years |
| Working Temperature | -25 °C~ + 75°C |
| LED Color | White, Blue, Yellow, Red, Green |
| Working Mode | Flashing or constant |
Aluminum alloy material, load capacity:> 30T(can be installed in the middle of road)
USA brand flexible solar panel, high conversion and charge efficiency
PC cover, high transparency
Program PCB has high stability
Bullet LED has high brightness
Accept OEM/ODM
Raised models start with position marking. Confirm any anchoring-shank requirements before installation. The photographs illustrate the installation workflow.
Check the pavement condition and prepare the installation area.
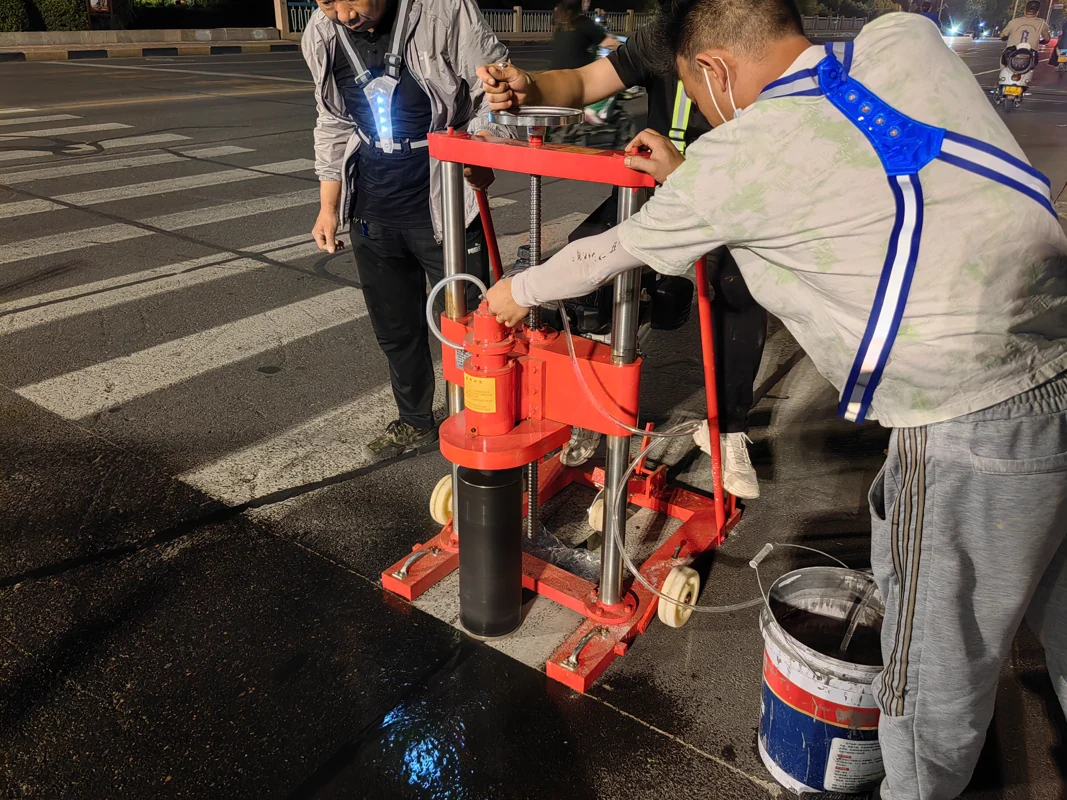
Mark the installation positions. For an anchoring shank, confirm the required anchor hole against the installation drawing.
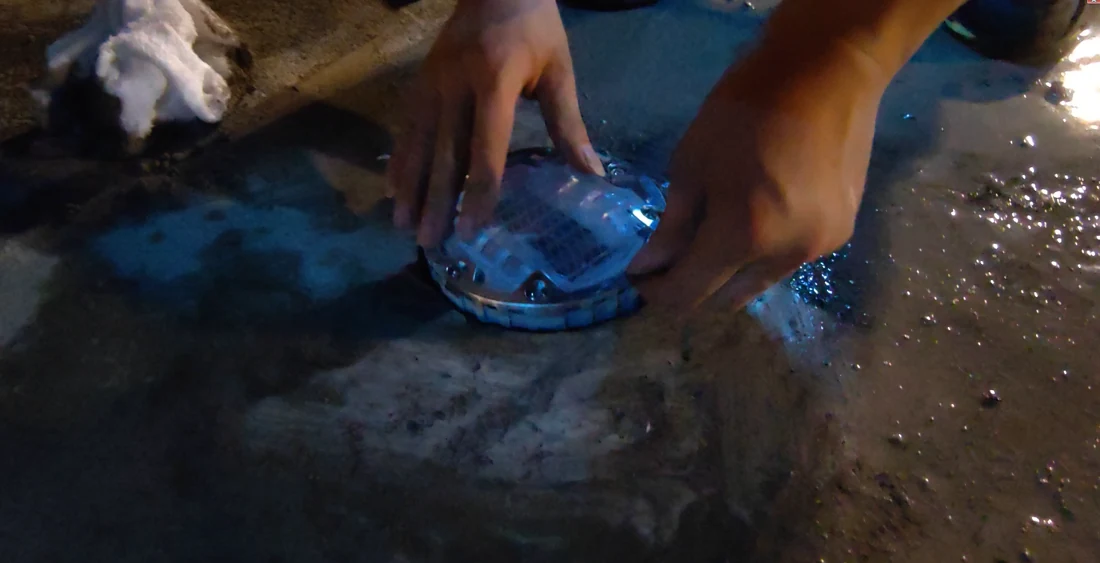
Position and secure the road stud using the specified installation method.
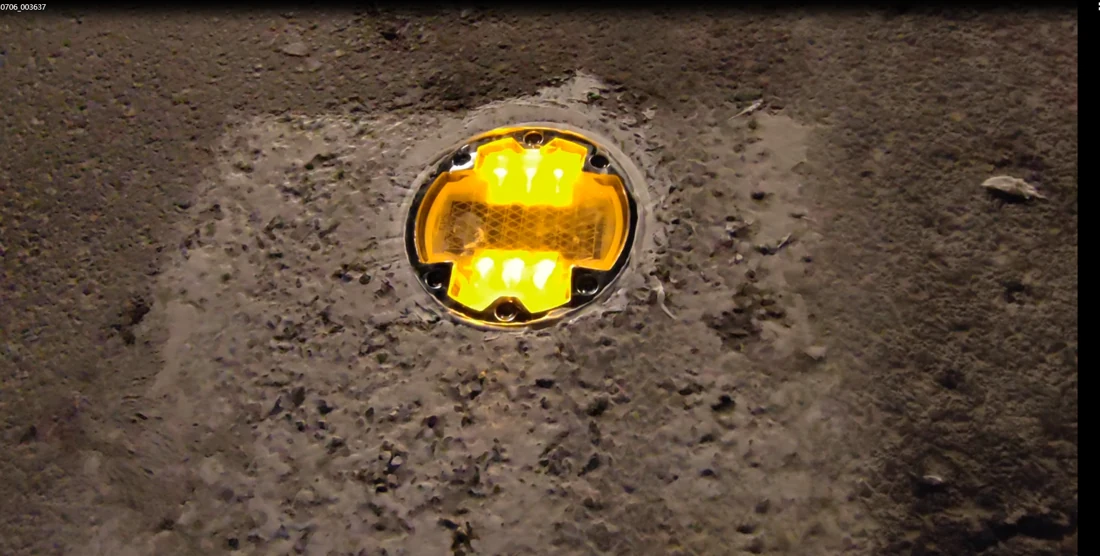
Check alignment, fixing, sealing and lighting performance.
START YOUR INQUIRY
Share the road conditions, target model and quantity. Start a clear specification discussion with NOKIN.
PROJECT INQUIRY